Underwater Photography – Not That Difficult
With the advancement of the digital age and awesome new underwater cameras, underwater photography has become affordable and is not that difficult to do.
Point and Shoot Cameras
Point and shoot cameras with underwater housings have become common place and don’t require a PHD in underwater photography to get great shots.
Underwater Photography is rewarding and at times can also be profitable. More and more underwater photography competitions are being won by people using compact digital cameras.
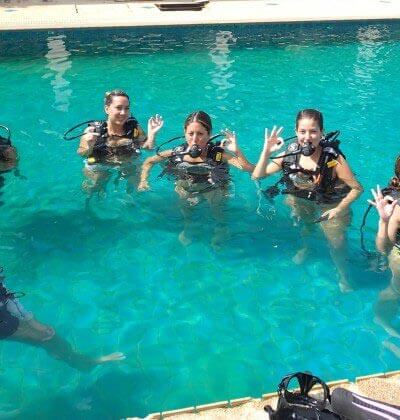
Scuba diving in Phuket offers a wonderful opportunity to improve your photography. With some beautiful clear water, a diverse range or marine life and some lovely dive sites will have you heading home with many great pics to show friends and family.
Here are some tips that will help with your underwater photos.
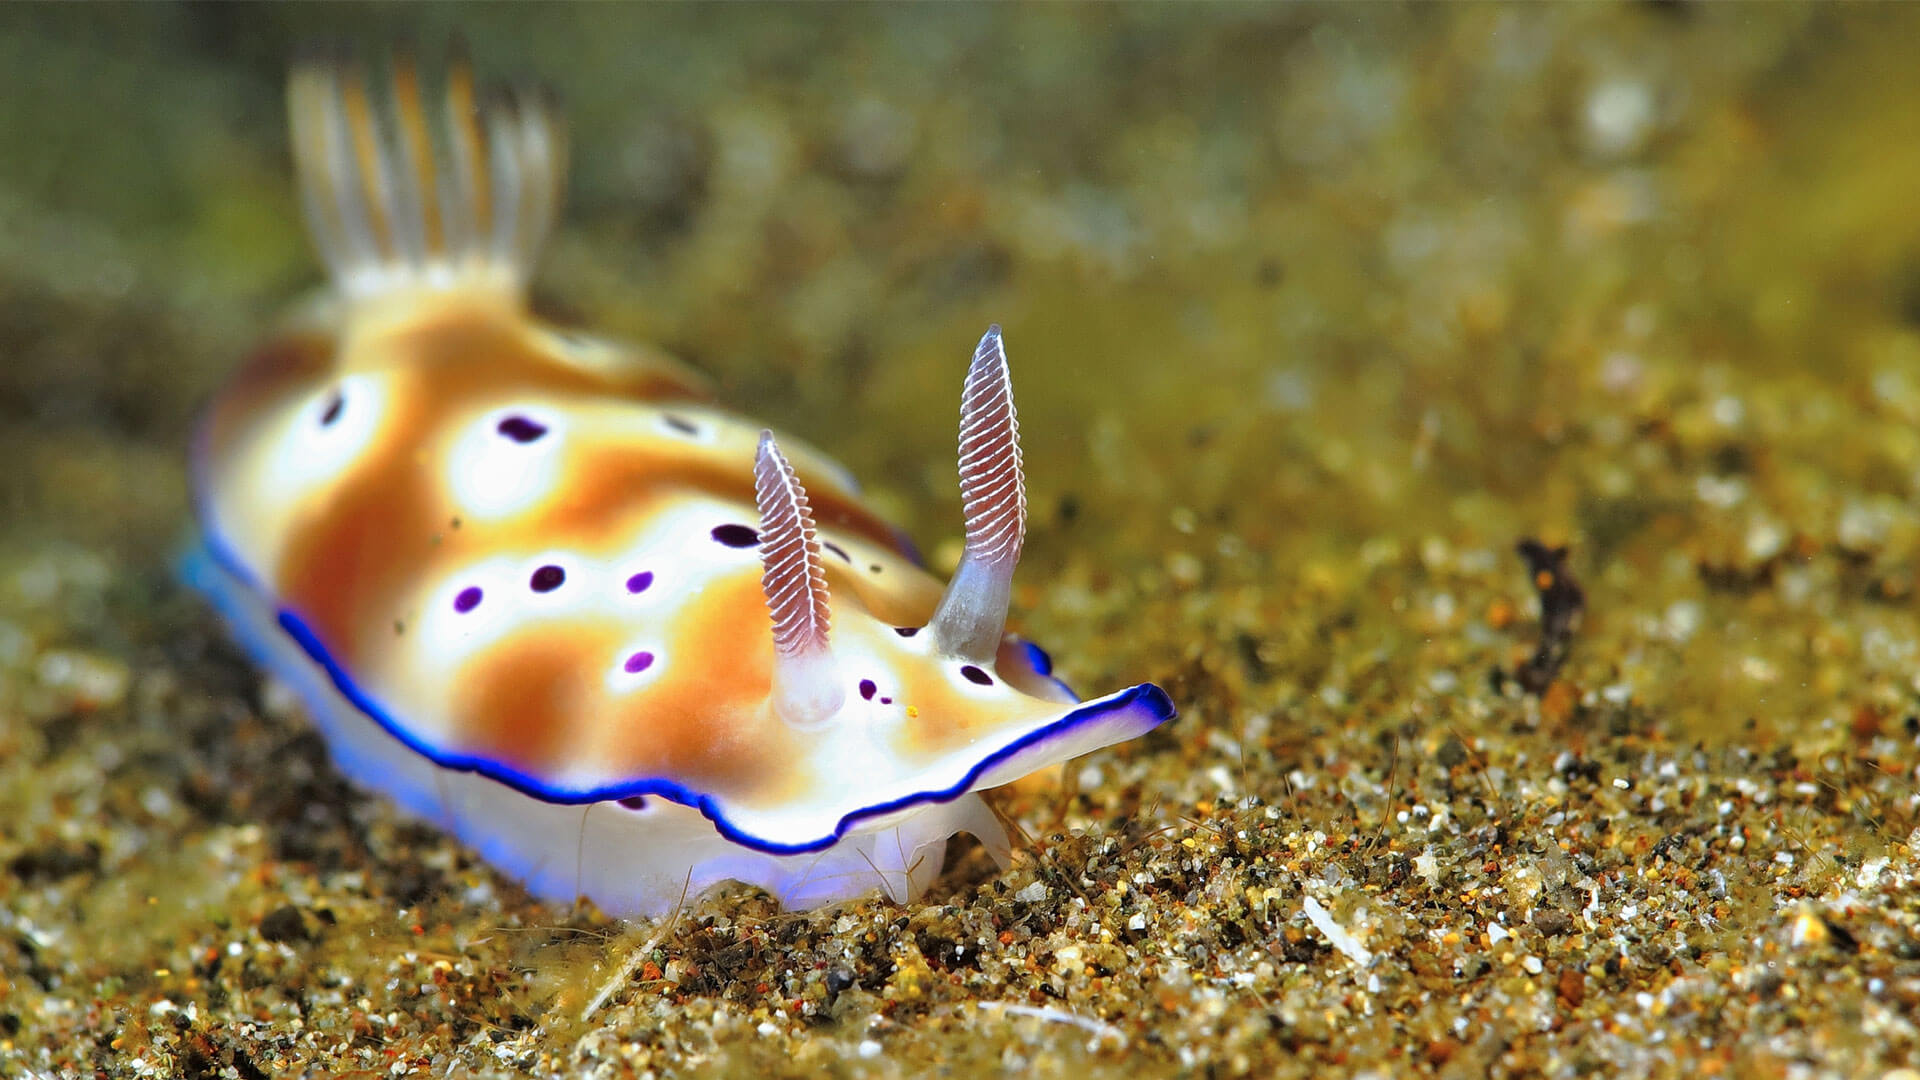
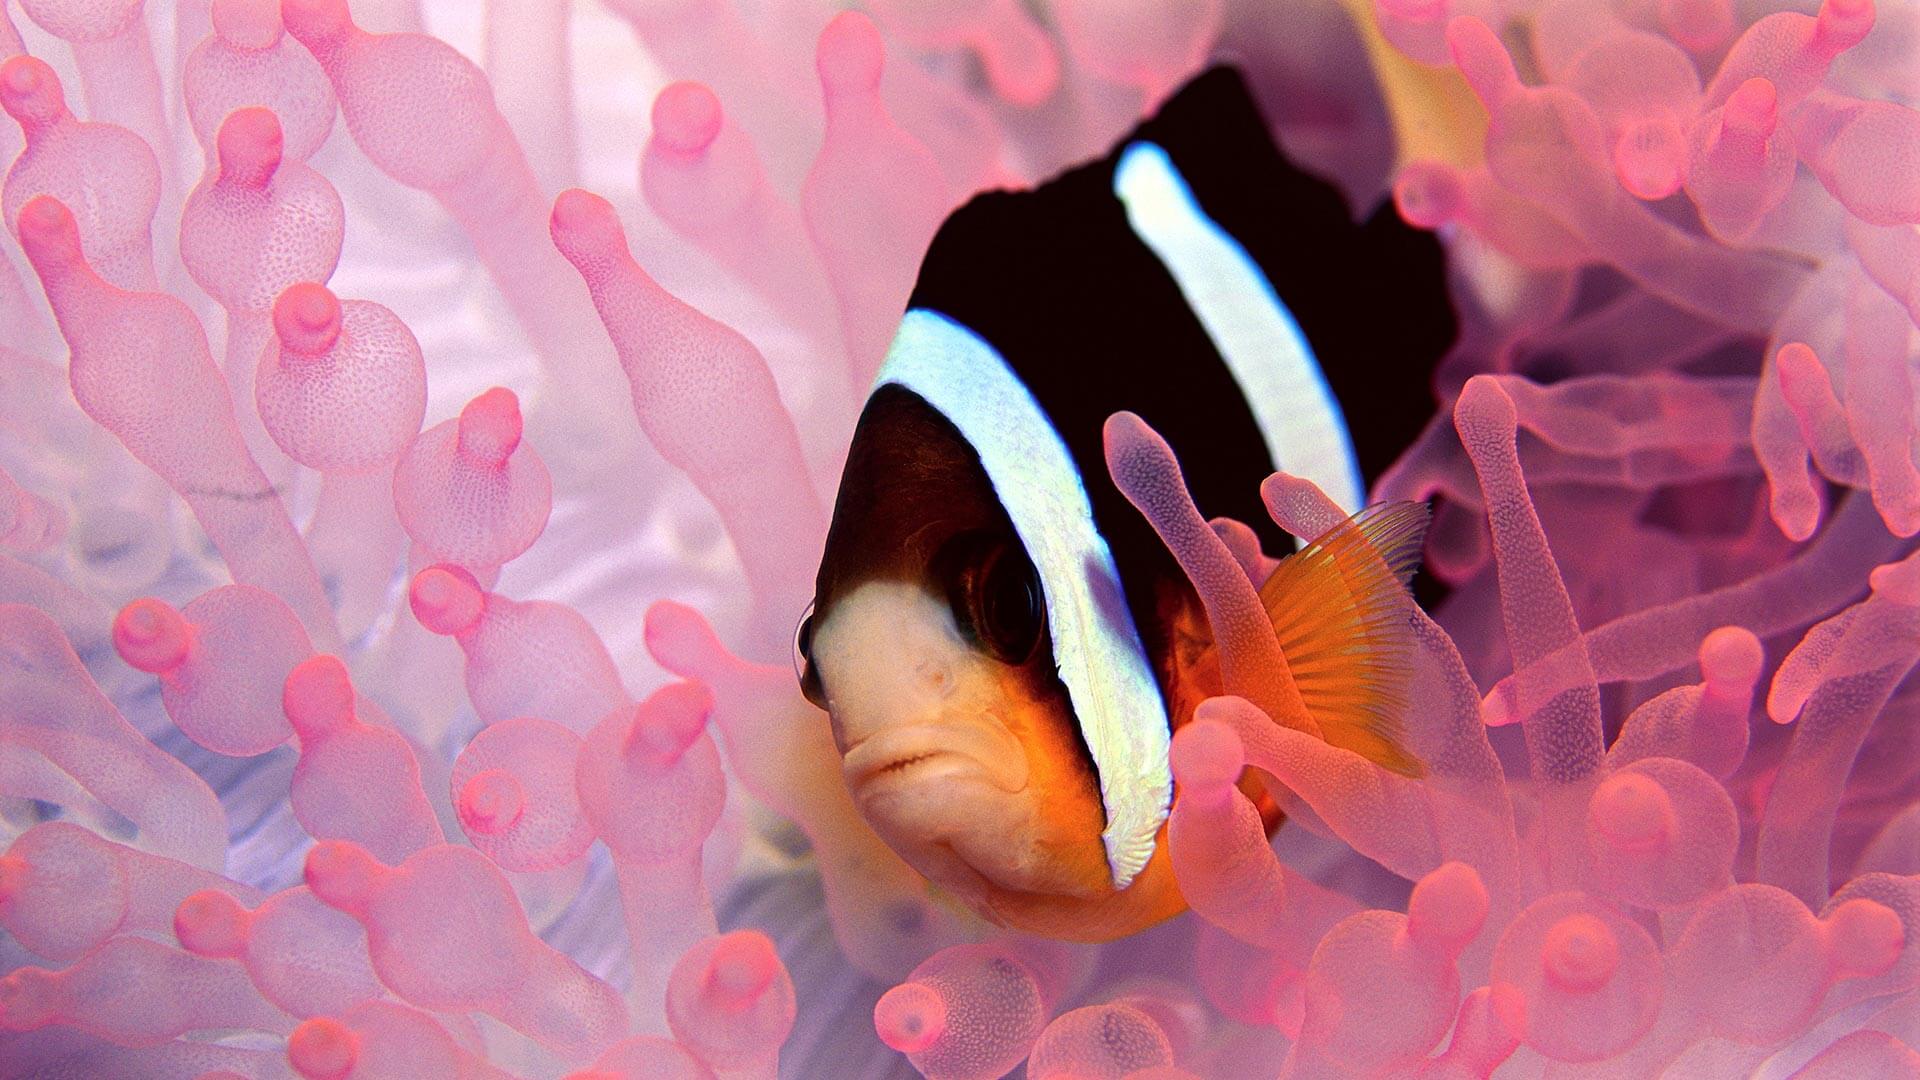
Beautiful Nudibranch Aussie Divers Phuket
Book Some Dives with Aussie Divers Phuket: Contact Us Here
#1. Get comfortable:
Learn to scuba dive before you learn your underwater photography. So often I have seen divers with poor buoyancy control trying to photograph a subject. Try courses like the PADI Peak Performance Buoyancy course or the PADI Advanced Open Water course and improve your scuba diving control. You will improve you photos by improving your scuba diving.
#2 Understand the marine life:
A good underwater photographer will always say be patient. Watch the swim patterns of your subject. Often underwater creatures repeat their behavior which will give you time to adjust and take your picture. Rushing towards your subject only startles them and that causes them to flee. Move slowly and often the subject will become curious in you and move closer.
#3. Get Closer:
And when you think you are closer enough, get closer again. When shooting pictures underwater, follow two important rules. Get close to your subject and shoot at upward angles. This will allow you to fill the frame and get separation of your subject from the background. Make sure you understand the focusing distance of your camera in and out of macro mode. Use macro mode when you are within the macro focusing distance. Don’t shoot a subject more than 1 metre away. This is also called “shooting through too much water”
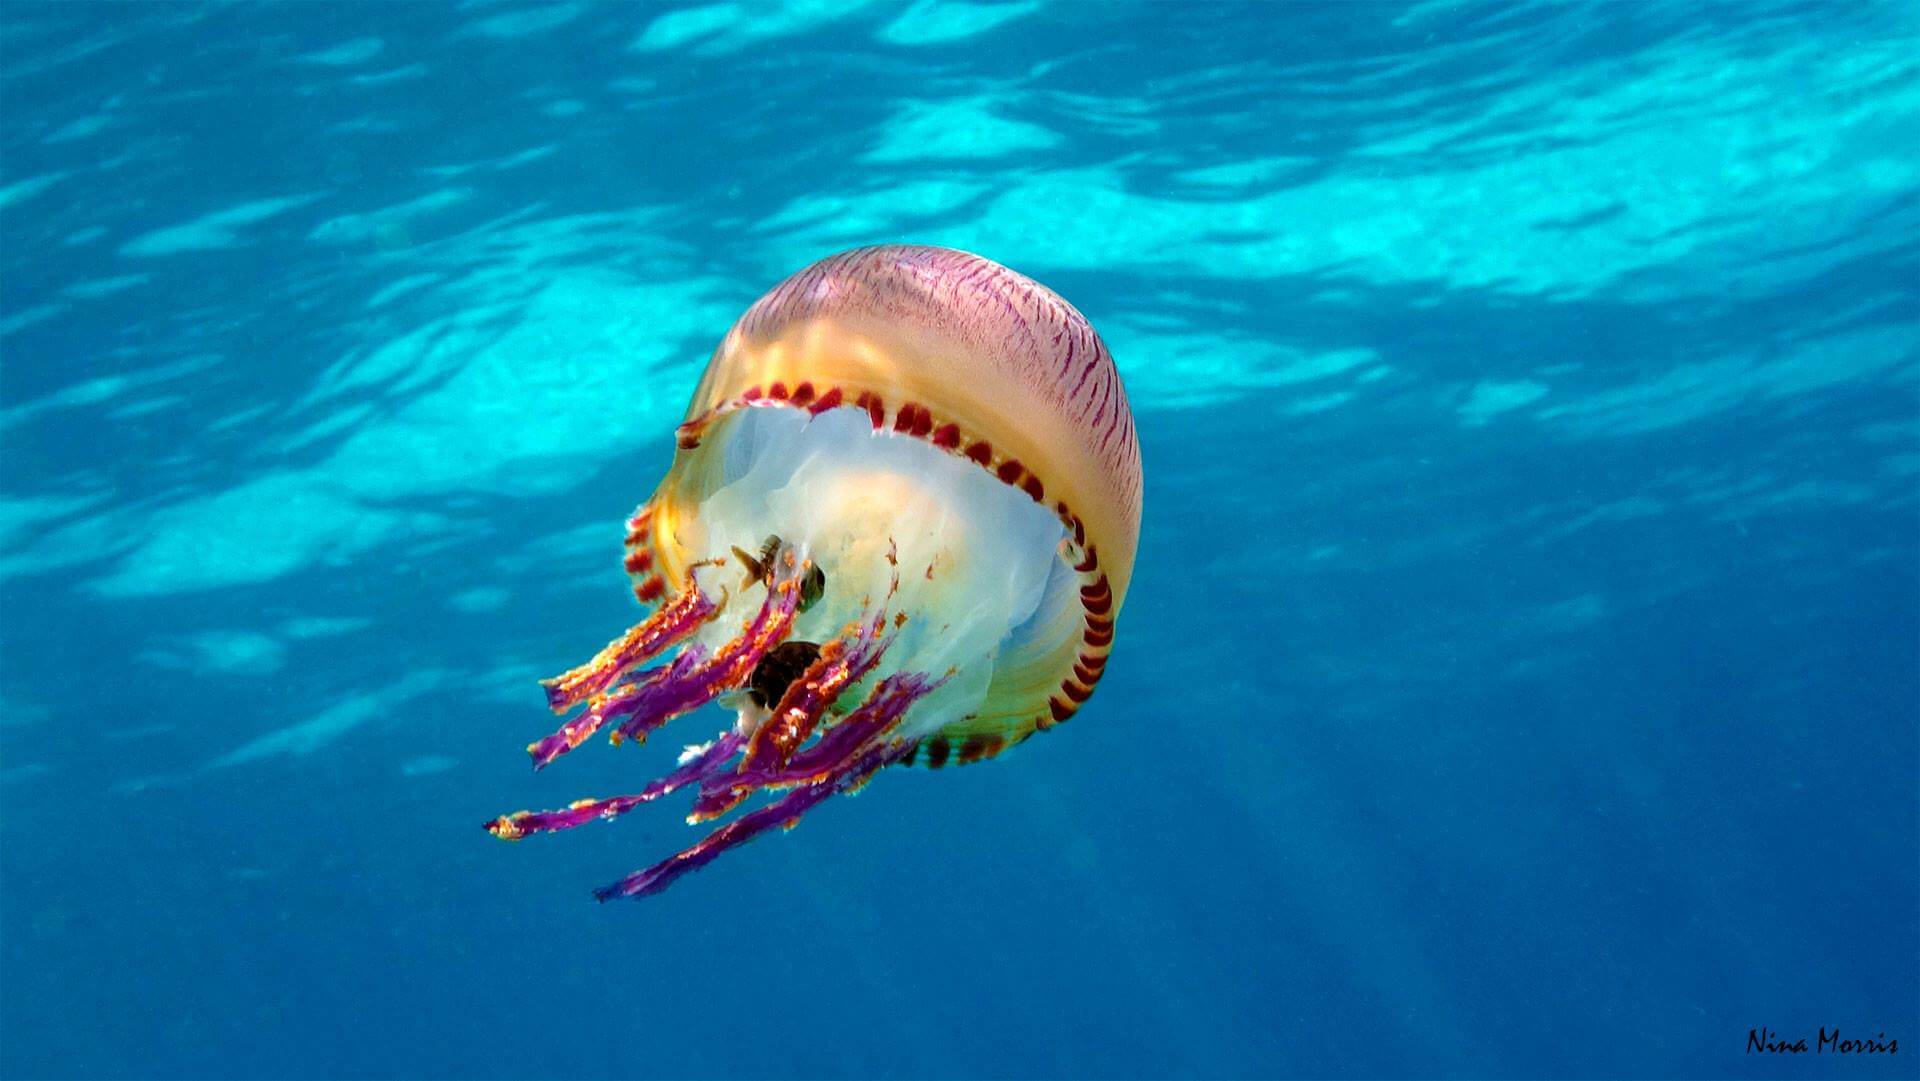
Jelly Fish Scuba Dive Aussie Divers Phuket Nina
#4 Get Out and Shoot:
Dive as often as you can and practice. Find a dive club near you and dive as often as possible. When you are diving with others they can share tips.
#5 Understand manual white balancing.
Turn the flash off. Understanding how to white balance and use natural light helps you produce beautiful natural photos and can eliminate the need for expensive strobes. Use manual white balance every 2 -3 metres when shooting ambient light. Also you will be kinder to the marine creatures. You don’t like having a flash go off in you eyes multiple times and I am pretty sure marine creatures don’t either.
#6 Don’t use digital zoom.
Using digital zoom increases the effects of backscatter. Try and get closer to your subject or alternatively shoot at a distance and crop later.
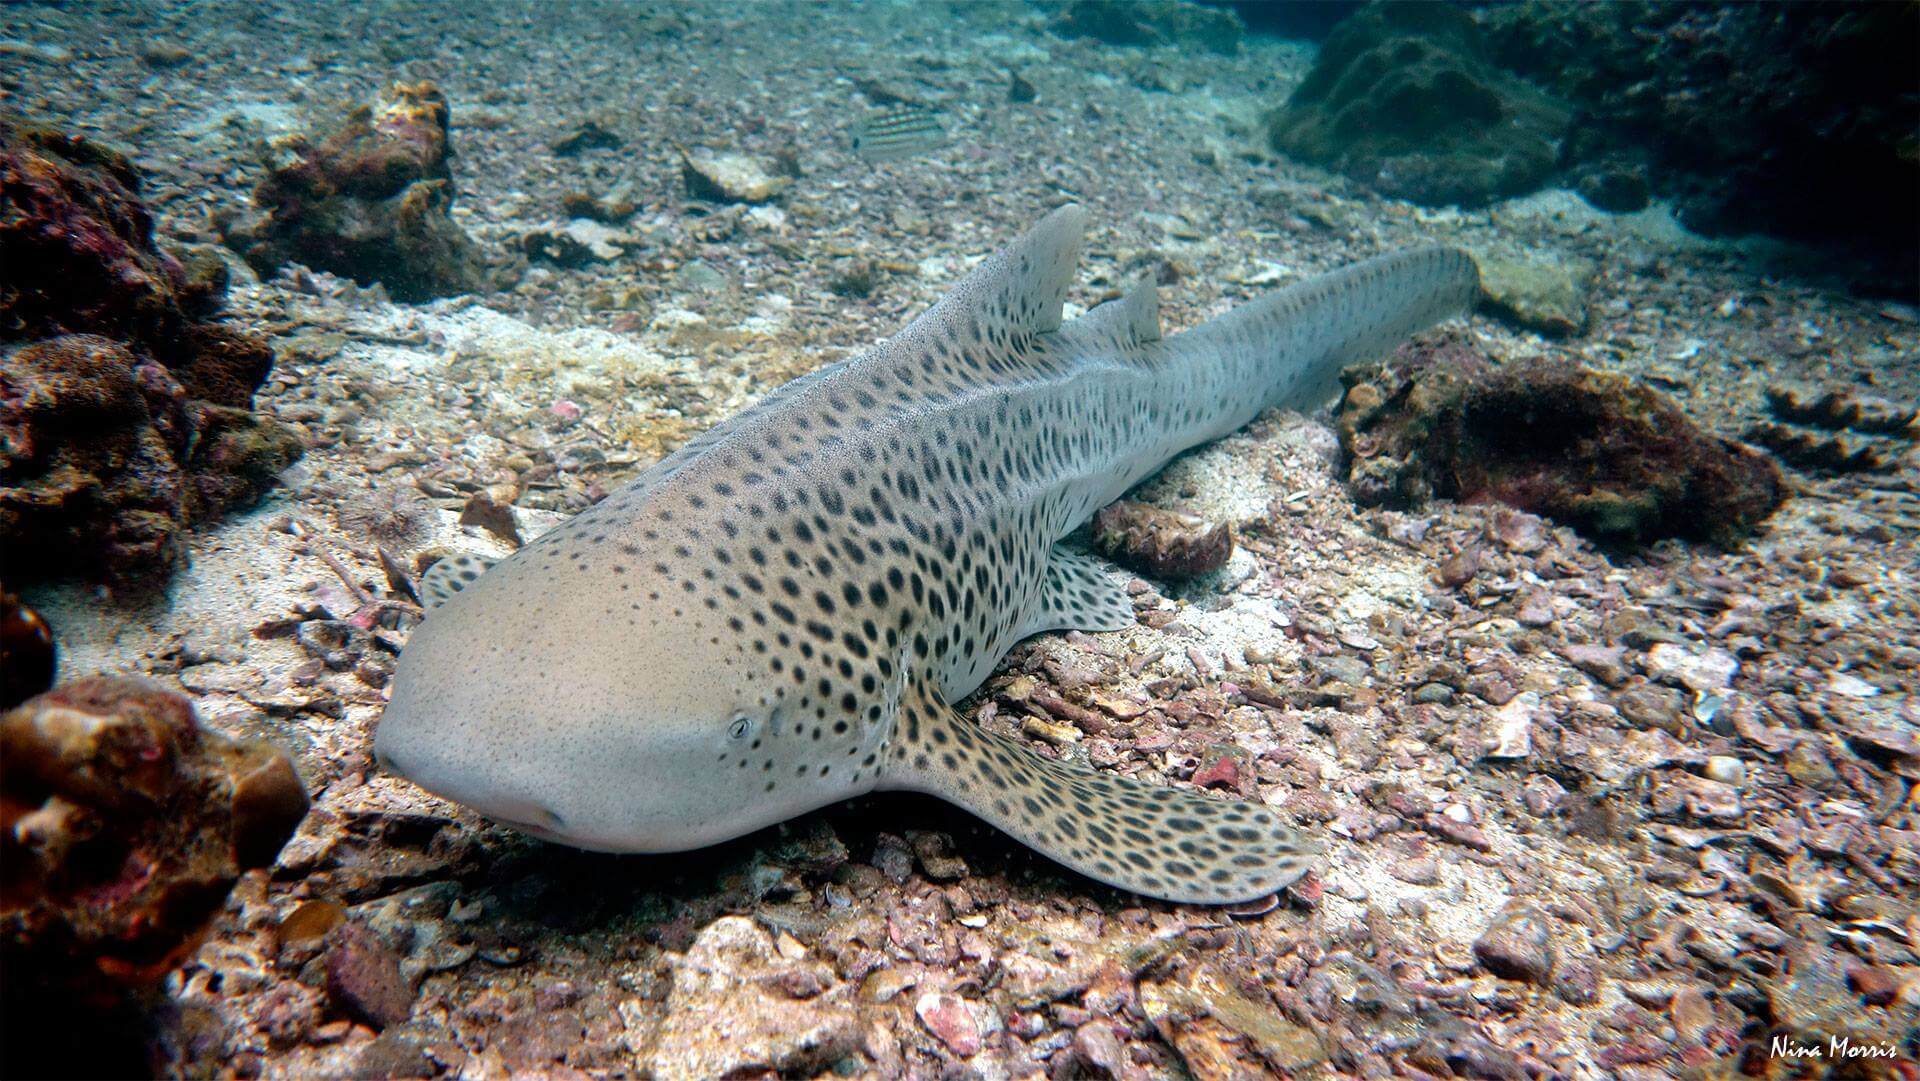
Leopard Shark Scuba Dive Aussie Divers Phuket Nina
#7 Understand Manual Settings:
This is easier than you think, here are some tips.
ISO: Keep your ISO low (100 or 200). Higher ISOs will, in most cases, result in “digital noise” in your pictures.
Aperture: Depending on how deep you’re working, most of the time you’ll be shooting between f8 and f16. This will provide you with greater depth of field.
Speed: In the manual setting, it’s the right combination of aperture and speed that will yield the correct exposure. if you want your subject to be sharp and motionless Igo to a higher shutter speed: 1/125th or 1/250th. If you want to convey or capture motion, e.g., fish swimming, a slower shutter speed of 1/15th or lower is the way to go.
Focus: Keep my focus in automatic and in single subject, which allows you to autofocus on the subject. In this mode, as long as you keep the shutter button down, it will hold the focus even if you recompose the scene.
Seamoth Scuba Diving Phuket Thailand
#8. Bring a dive light.
It will help your camera auto-focus.
#9. Take care of the environment and other divers:
Most of all, remember what you learned in your scuba diving class. You are a diver first and then a photographer. Your safety and that of divers around you depends on keeping this in mind at all times.
Aussie Divers Phuket has a full range of PADI courses that will help with your underwater photography including the PADI Advanced Open Water Course, PADI Peak Performance Buoyancy course, PADI Digital Underwater Photography and a range of Project Aware Courses.

Turtle Aussie Divers Phuket Scuba Diving
Book Some Dives with Aussie Divers Phuket: Contact Us Here
Posted in Dive Photography on .